I have been an avid organic gardener for over 10 years and before that would dabble with various plants and veggies. I love the taste of freshly harvested lettuce and kale and feel super charged that it came from my land.
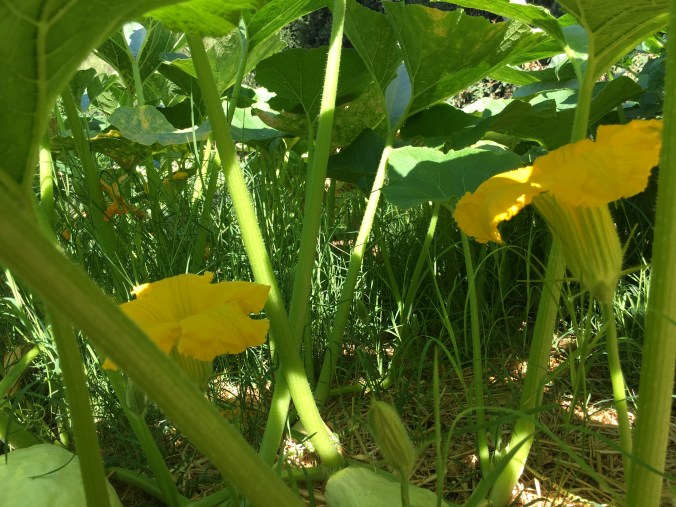
 This year my garden was a true disaster. I planted from heirloom organic seeds, replenished my dirt with my own compost which is usually amazing and I have had the worst yield. My crab and devil grasses are at an all time high, my chickens figured out how to get in my garden and destroy any new baby lettuces that actually had a chance. And then there were those seeds, I mean entire rows, that never sprouted not even one! UGH I was frustrated and saddened.
Then one day I saw an interview on 60 minutes that was about aeroponic tower gardens. It had the skeptic in me saying that is not a way to garden, hydroponics/aeroponics is for growing medical marijuana, not food. So I halfway listened to the story. A few weeks later a colleague of mine told me about her tower garden and how much fun she has had with her boys teaching them to grow food.
When the same topic comes into my life from completely different sources a little light inside me says WAKE UP JEN! This is something your life needs to learn about. So I set up a phone meeting with my friend and she walked me through the benefits of the tower garden system. Before I hung up she helped me order my first tower garden! Within a week it arrived in boxes and it was like Christmas in June!
 I love jigsaw puzzles and dove into all the boxes to set out on assembling my tower garden in my kitchen! As my husband sat at the kitchen table working on his computer I quickly covered every inch of counter top and floor space with all the parts and pieces.The large green reservoir holds approximately 20 gallons of water which is pumped up the tower on the inside and recycled continuously. Its a truly brilliant system. I also got a steel dolly to be able to rotate my garden and move it around easily and an extension kit to have 8 more holes to grow food.
 I will say there were not too many parts, the size of the parts on the other hand were a bit cumbersome for my tiny little space but I was determined to assemble my tower on this beautiful Sunday morning and have it ready to use by days end!

With only one glitch, which was assembling the additional two towers, my tower garden was up and ready to be moved outside within an hour. I really had no idea that it would be so tall! I was thrilled to be ready to take it to the next step and plant my veggies.
 The only thing I did not foresee was the timing of growing my own seedlings to fill the tower garden. So if you are planing on growing the seeds that come with your tower garden kit there is no need to assemble your tower garden (unless you are like me and cannot wait to see it up) until your seeds are ready to be planted in your tower. I skipped this step and went to my local garden center and purchased 6 packs of organic romaine, heirloom kale, some dill and strawberries. I rolled the plants in my hands to remove most of the dirt from the root-balls to fit them properly into the baskets provided that snap into the hole you see in the tower. I also found the smallest plants at the nursery knowing their root-balls wouldn’t be as developed and would be less traumatized by removing their dirt.
 The planting took about 30 minutes and I enjoyed every moment as my tower became filled with possibility! I tested my PH to make sure I was starting with a balanced level, adjusted it until the reading was correct, put in the required amount of organic mineral blend and plugged it in. I had a small snafu with the timer but figured it out by day 2. When you test your system to ensure that the pump works just make sure you flip the timer switch to on that way your timer starts working immediately. Sounds basic and simple, but I however was overly enthusiastic that my assembly worked on the first go and since I had programmed the timer once it started I thought that was all there was to it.
The placement of your tower is paramount to its success and also to its’ water requirements. How much daily sun exposure you get, whether its morning to early afternoon or afternoon till evening will help you to balance the amount of aeroponic flushes per hour your plants need.
So two days later I hopped on a plane and took off for Italy.
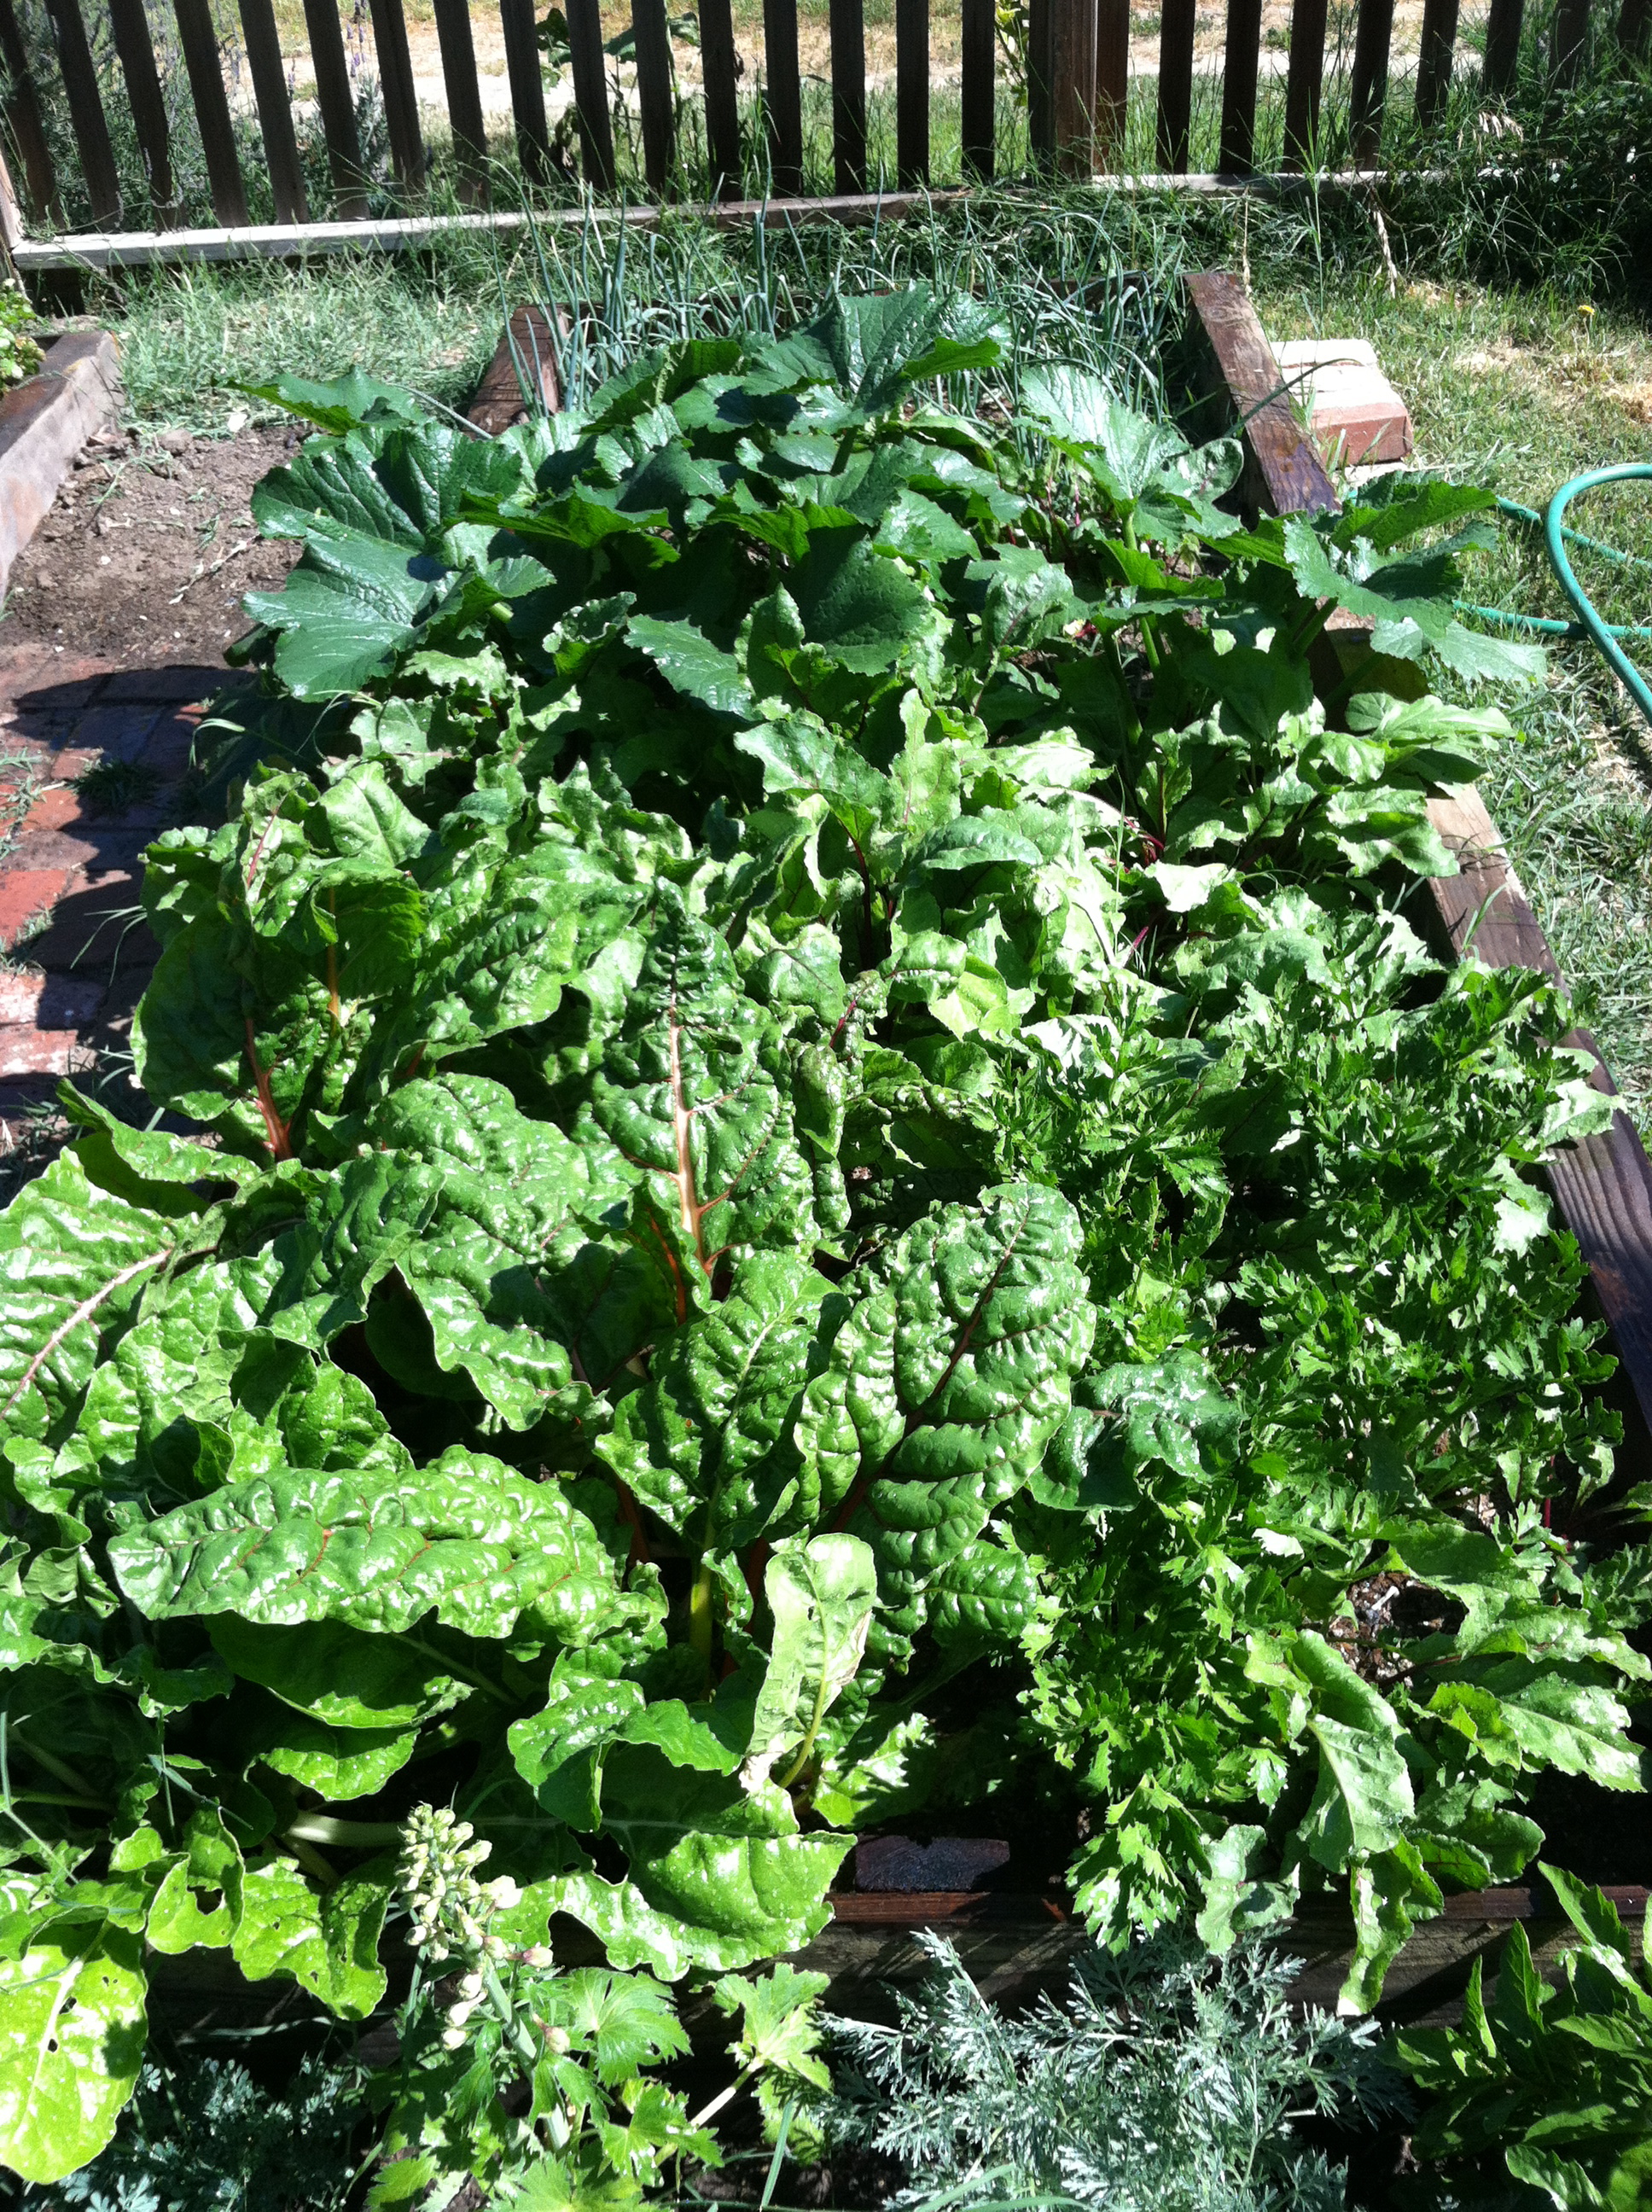
When I returned home to my great surprise this is what my garden looked like!

Zero maintenance, all this needed was a turn every few days and I’m not even sure it got that while I was away and the reservoir of water was down only 2″!!! Now each day I harvest a head of my own organic lettuce, some kale and I’m thrilled I don’t have to fight the weeds or pick off the pincher bugs.
This has changed my perspective on growing my own produce. In three and a half weeks these delicious veggies grew without any input from me other than running an extension cord to the pump! I did not have to add water, which is something I would have had to do daily to keep my lettuces alive normally. I am already starting to get ready for my second planting and feel that even on my farm in sunny southern California this is a system that makes the most sense for me to grow my lettuces, kale and herbs. In fact I can see how I could easily use two towers all year round to keep my family’s need for fresh organic salad materials available every day. I will still use my normal in ground garden for tomatoes, things that climb like cucumbers and peas and for crops that would be altogether to large for this type of environment such as squash and eggplant but I have a new found appreciation in the aeroponic tower garden.
The system includes:
- Tower Garden vertical aeroponic garden
- Seeds for growing gourmet lettuce, cherry tomatoes, beefsteak tomatoes, basil, and cucumber
- Seed starter enviro-dome
- 20 rock wool seed starter cubes and net pots
- Pump, timer and drain tube
- Tower Tonic Mineral Blend plant food
- pH test kit and 1 bottle each of pH+ and pH-
- Measuring cup

If you are interested in ordering your own tower garden click on the photo above or this link and it will take you to the tower garden website. If you are like me you may find this is not only an amazing way to grow healthy food for you and your family, you may find this could be a wonderful business adventure to become involved in. You have the power to create what you want in your life, my advise is to eat, heal, live and love your live!
Feel free to email me with any questions you have regarding growing your own food. If I can help you create your own small island of sustainability, then I feel we are making the change that is so needed in our world.